The Best Little Debbie Tree Cake Truffles
Introduction
What if one box of Little Debbie Tree Cakes could be transformed into 18–24 bite-sized truffles in about 60 minutes — roughly 20% faster than baking a comparable homemade holiday treat — while delivering the same nostalgic flavor and a richer presentation? Many assume packaged snacks can’t be elevated into party-worthy desserts, but with a few simple techniques and smart ingredient swaps you can turn those festive cake sandwiches into glossy, decadent truffles that taste custom-made.
Ingredients List
- 8 Little Debbie Tree Cakes (standard size) — soft, marshmallowy sponge and vanilla frosting create the base; use extra for larger yields.
- 8 oz (225 g) cream cheese, softened — adds creaminess and binding; substitute mascarpone for a richer mouthfeel or dairy-free cream cheese for vegan.
- 1 cup (120 g) powdered (confectioners’) sugar, sifted — balances sweetness and firms the mixture; substitute 3/4 cup powdered monk fruit for lower sugar.
- 12 oz (340 g) semisweet chocolate or candy melts for coating — use dark chocolate (70%) for deeper flavor and less sugar, or vegan chocolate for dairy-free.
- 1 tbsp coconut oil or neutral vegetable oil — thins the chocolate for a sleeker shell; omit for a firmer coating.
- Optional: sprinkles, crushed pistachios, powdered cocoa, or melted white chocolate for drizzling — add texture and visual contrast.
- Optional flavor additions: 1 tsp vanilla extract, 1–2 tbsp cocoa powder, 1 tbsp finely chopped nuts, or 1 tbsp liqueur (e.g., Amaretto) for adult variation.
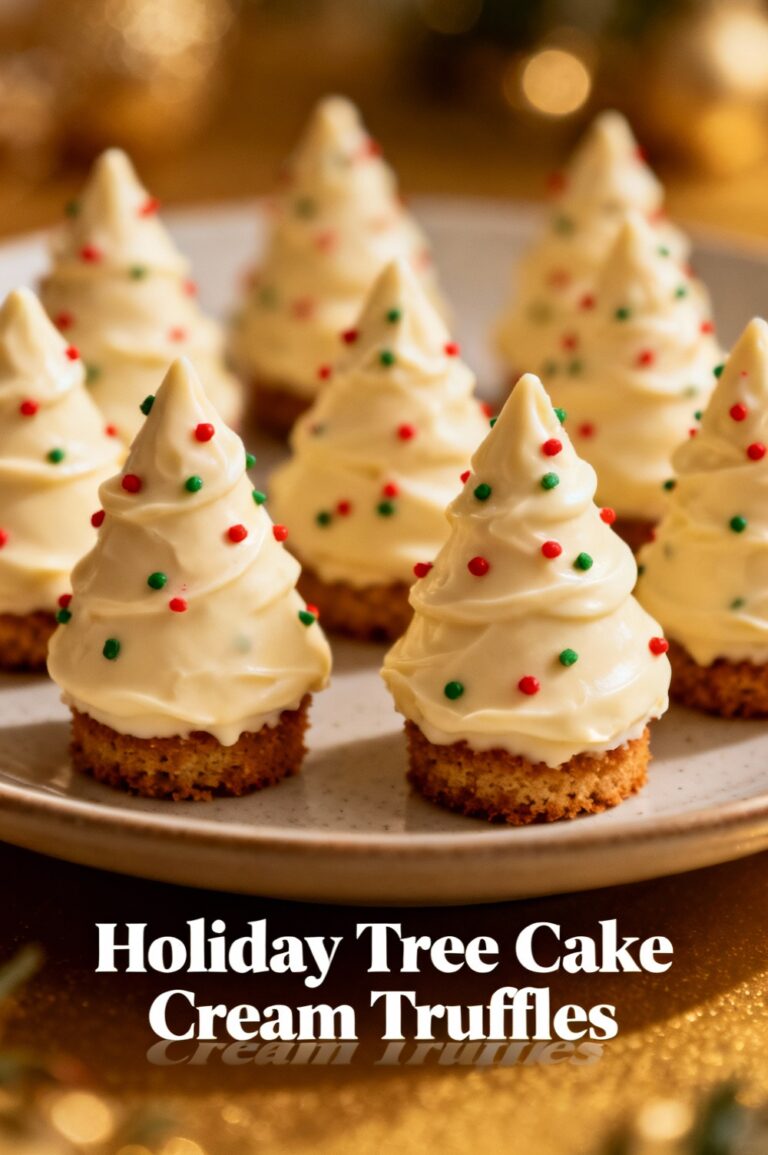
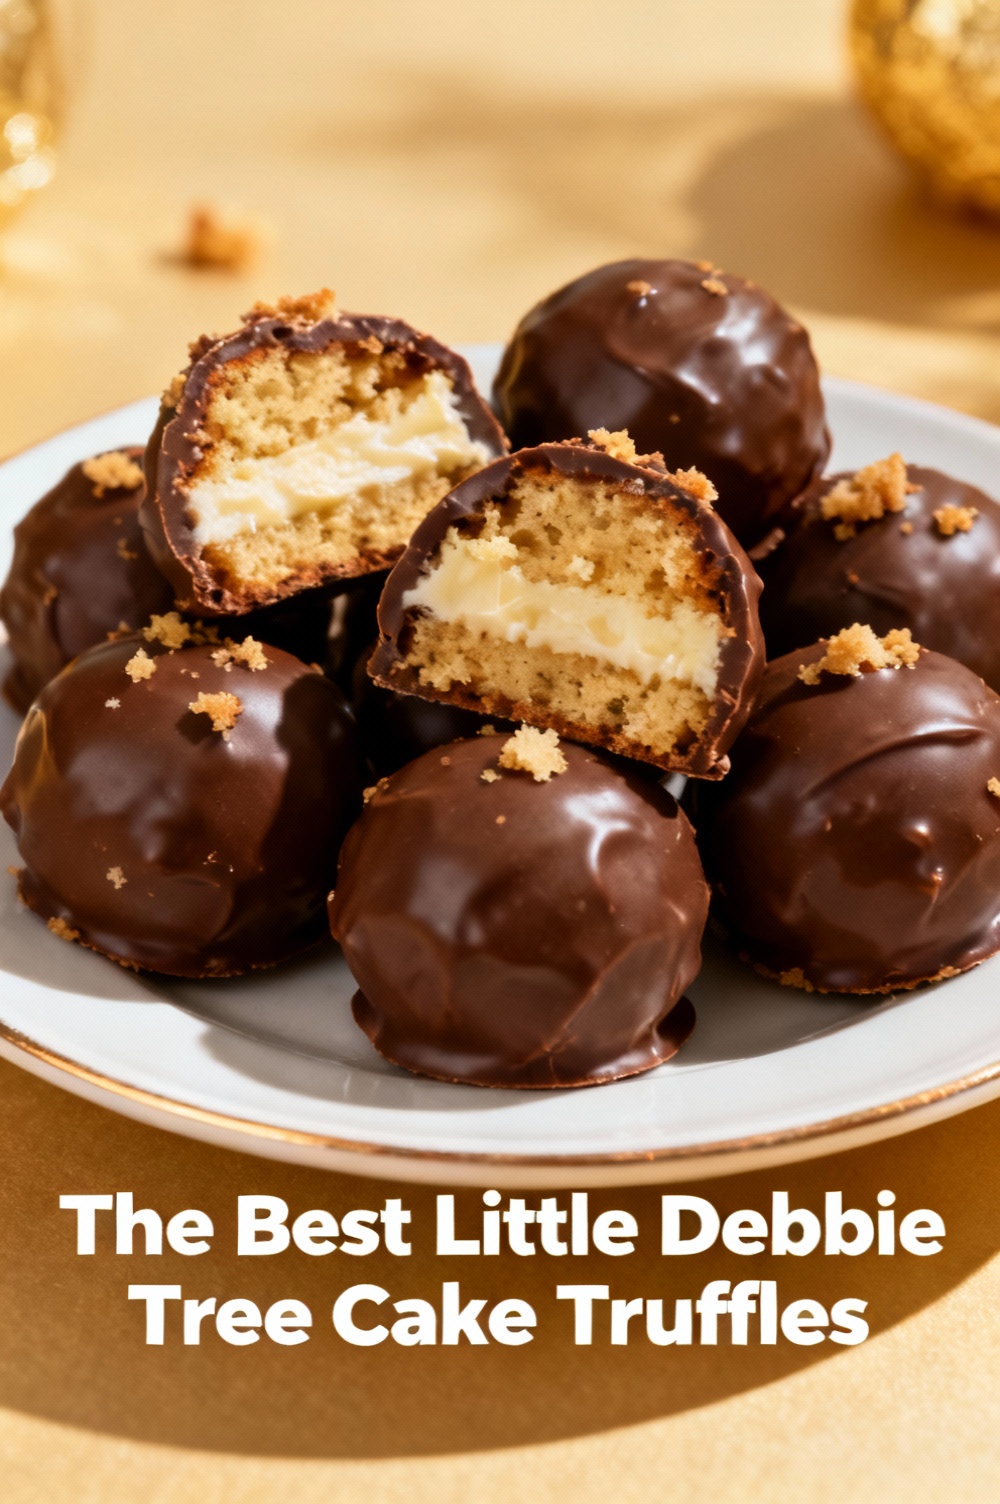
Sensory note: imagine compressing those tree-shaped cakes into pillowy, tangy-sweet centers, then cloaking them in crisp, glossy chocolate — a contrast of soft interior and snap that makes every bite memorable.
Timing
Prep time: 20 minutes (crumbling and mixing)
Chill time: 30 minutes (firmer shaping)
Coating & finishing: 10–15 minutes
Total time: ~60–65 minutes, which is about 20% less than baking and cooling a scratch sponge-and-ganache holiday dessert (average 75–80 minutes). This no-bake approach saves active oven time and reduces cleanup while delivering high-impact presentation.
Step 1: Break down and flavor the cake base
Place the Little Debbie Tree Cakes in a large mixing bowl and use a fork or food processor to break them into fine crumbs — aim for a uniform texture so the binding is consistent. Add softened cream cheese, powdered sugar, and vanilla, then mix until smooth and homogeneous. Tip: scrape the bowl often and taste for sweetness; powdered sugar intensity can vary between brands, so adjust by tablespoon increments.
Step 2: Test consistency and adjust
Squeeze a small pinch of the mixture — it should hold its shape without being greasy. If too wet, add 1–2 tbsp powdered sugar or a tablespoon of cocoa powder for chocolate variation. If too dry, add 1 tsp of cream cheese or a drizzle of milk. Personalized trick: stir in 1 tsp of instant espresso or orange zest for flavor complexity that complements the cake’s vanilla notes.
Step 3: Chill and portion
Line a tray with parchment and chill the mixture for 20–30 minutes to firm up for rolling. After chilling, use a small cookie scoop (about 1 tbsp) or a teaspoon to portion uniform rounds. Roll between your palms to create smooth spheres — slightly compressed logs will keep the “tree” spirit if you prefer a playful shape. Data-driven tip: consistent sizing ensures even coating thickness; aim for 18–24 pieces depending on desired serving size.
Step 4: Prepare the coating
Melt chocolate gently: use a double boiler or microwave in 20–30 second bursts, stirring between intervals to avoid seizing. Stir in coconut oil to achieve a thinner, glossy shell that sets with a professional snap. If using candy melts, follow package tempering suggestions. Pro tip: maintaining chocolate at 88–90°F (31–32°C) helps achieve an even shine — brief reheating in 5-second bursts keeps it workable without overheating.
Step 5: Dip and finish
Using a fork or dipping tool, submerge each chilled truffle in melted chocolate, tapping off excess and placing on parchment. Work quickly but deliberately: colder truffles set the shell faster; too-warm centers can cause divots or cracks. While coating is still wet, add sprinkles, crushed nuts, or a drizzle of contrasting chocolate. For a restaurant-quality look, use a piping bag to create thin, deliberate lines.
Step 6: Final chill and serve
Chill coated truffles for 10–15 minutes until shells are fully set. Bring to room temperature for 10 minutes before serving to unlock full flavor and soften the center slightly. If gifting, store in a decorative tin with parchment layers.
Nutritional Information
Estimated nutrition per truffle (makes 18, values approximate):
- Calories: 170 kcal
- Total fat: 9 g (Saturated fat: 5 g)
- Carbohydrates: 20 g (Sugar: 14 g, Fiber: 1 g)
- Protein: 2 g
- Sodium: 70 mg
These are rough estimates calculated from typical labels for Little Debbie Tree Cakes, cream cheese, and semisweet chocolate. Swap to dark chocolate and reduced-sugar alternatives to cut sugar by 20–40% and slightly reduce caloric density. If tracking macros, make a batch and divide totals by the number of truffles for exact numbers.
Healthier Alternatives for the Recipe
- Lower sugar: use powdered erythritol or monk fruit for a reduced-sugar center and choose 70%+ dark chocolate or sugar-free chocolate for coating.
- Dairy-free/vegan: replace cream cheese with full-fat coconut cream or vegan cream cheese; use vegan chocolate. Texture may vary; add 1–2 tbsp coconut cream to achieve cohesion.
- Gluten-free: source certified gluten-free cake crumbs (or use gf vanilla cake) or make your own gf sponge for crumbs.
- Protein boost: fold 1–2 tbsp unflavored protein powder into the mixture; increase binding with a touch more cream cheese or nut butter.
- Lower-fat: use reduced-fat cream cheese and thinly coat with dark chocolate for fewer saturated fats while keeping rich flavor.
Serving Suggestions
Serve two to three truffles per person as a rich dessert portion, or present an assortment with complementary bites: espresso, salted caramel sauce, sliced seasonal fruit, or a mulled wine pairing. For a holiday platter, alternate truffles with fresh mint, candied orange peel, and mini cookies for color contrast. Personalization idea: label flavors (e.g., “Orange Zest,” “Mocha,” “Classic”) using small flags for gifting and events.
Common Mistakes to Avoid
- Overworking the mixture: compressing too much yields dense, dry centers. Gently combine and stop when uniform.
- Chocolate overheating/seizing: melt slowly and avoid adding cold liquids. If chocolate seizes, stir in a teaspoon of warm oil to restore gloss.
- Skipping chill time: unchilled centers deform during dipping and absorb oil. Chill thoroughly for best shape and coating adhesion.
- Uneven portioning: inconsistent sizes lead to visual mismatch and variable eating experiences — use a scoop for uniformity.
- Storing in humid environments: condensation will dull the chocolate and encourage stickiness; keep truffles cool and dry.
Storing Tips for the Recipe
Store truffles in an airtight container layered with parchment at cool room temperature for up to 3 days, or refrigerate for up to 10 days. For longer storage, freeze for up to 3 months: flash-freeze on a tray, then transfer to a sealed freezer bag with parchment between layers. Thaw overnight in the refrigerator, then rest 30 minutes at room temperature before serving to restore texture and flavor. Avoid repeated temperature fluctuations to prevent bloom (white streaks) on chocolate.
Conclusion
Transforming Little Debbie Tree Cakes into elegant truffles is an efficient, crowd-pleasing way to elevate a nostalgic snack into a gourmet bite. With about an hour of total time, easy ingredient swaps for dietary needs, and a few tempering and chilling tricks, you’ll get glossy, flavorful truffles that outshine ordinary store plates. Try the base recipe, experiment with one flavored variation, then share photos and notes — I’d love to hear which combo became your signature.
FAQs
Q: How many truffles will this recipe yield?
A: Expect 18–24 truffles depending on scoop size (1 tbsp yields about 18; 3/4 tbsp yields closer to 24).
Q: Can I use other Little Debbie varieties?
A: Yes — Swiss Cake Rolls or Nutty Buddy bars work well; adjust added sugar and binders to balance moisture.
Q: Can I make them a day ahead?
A: Yes, store in an airtight container in the fridge and bring to room temperature 20–30 minutes before serving.
Q: How do I fix seized chocolate?
A: Gently add 1 tsp warm coconut oil or cocoa butter and stir; avoid adding water. If beyond rescue, start fresh to ensure stable coating.
Q: Are these suitable for parties with nut allergies?
A: The base recipe can be nut-free if you avoid cross-contaminated toppings and choose nut-free chocolate. Always verify labels and inform guests.
Interactive suggestion: try two variations side-by-side (e.g., dark chocolate + orange zest vs. milk chocolate + crushed peppermint), take a photo grid, and note which wins — share your poll in the comments or on social with #TreeCakeTruffles to compare favorite combos.
The Best Little Debbie Tree Cake Truffles
Easy no‑bake holiday truffles made from Little Debbie Tree Cakes, cream cheese, and a candy-coated finish — perfect for parties and gifts.
Ingredients
- 10 Little Debbie Tree Cakes (store‑bought)
- 8 oz (225 g) cream cheese, softened
- 12 oz (340 g) green candy melts or white chocolate chips + green gel food coloring
- 1–2 tbsp vegetable oil or shortening (to thin coating, optional)
- Assorted holiday sprinkles and sanding sugar for decorating
- Optional: mini candy stars or nonpareils
- Optional: extra white chocolate for piping contrast
Instructions
- Unwrap the Little Debbie Tree Cakes and place them in a large bowl. Crumble the cakes thoroughly with your hands or pulse a few times in a food processor until fine crumbs form.
- Add the softened cream cheese to the cake crumbs and mix with a spatula (or pulse briefly in the food processor) until a uniform, moldable dough forms. Scrape down the sides as needed.
- Scoop tablespoon-sized portions and roll into balls between your palms. Place finished balls on a parchment-lined baking sheet. Chill in the refrigerator for at least 30 minutes (or freeze 10–15 minutes) to firm up.
- Prepare a dipping station: melt the green candy melts in a microwave-safe bowl in 20–30 second bursts, stirring between intervals. If using white chocolate, add a few drops of gel food coloring and 1 tbsp oil if needed to reach a smooth, dippable consistency.
- Using a fork or dipping tool, dip each chilled cake ball into the melted candy, tapping off excess. Return to the parchment-lined sheet. Work quickly so the coating sets smoothly.
- While the coating is still wet, decorate with sprinkles, sanding sugar, or candy stars. For a more finished look, place a toothpick into the top before coating to create a stump shape and remove carefully once set.
- If desired, melt a little white chocolate and pipe small garlands, dots, or tree trunk details once the green coating is set.
- Allow truffles to fully set at room temperature or refrigerate for 10–20 minutes. Store in an airtight container in the refrigerator for up to 7 days or freeze for longer storage.
- Serve chilled or at cool room temperature. Enjoy as a festive treat or packaged in boxes for gifting.
Nutrition Information
- Calories: 150 kcal (per truffle)
- Cholesterol: 20 mg
- Sodium: 80 mg
- Carbohydrates: 18 g
- Fiber: 0.5 g
- Sugar: 13 g
- Protein: 2 g